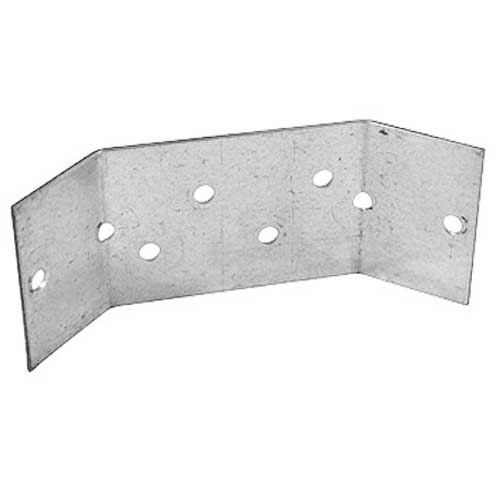
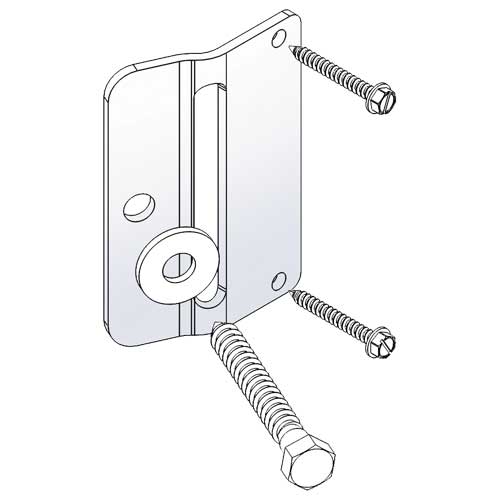

Flex Fence End Plate Kit
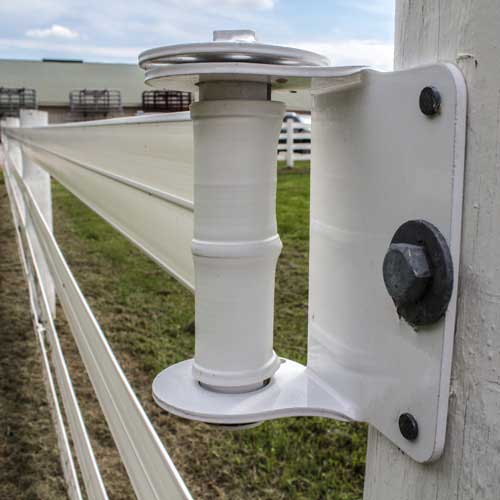
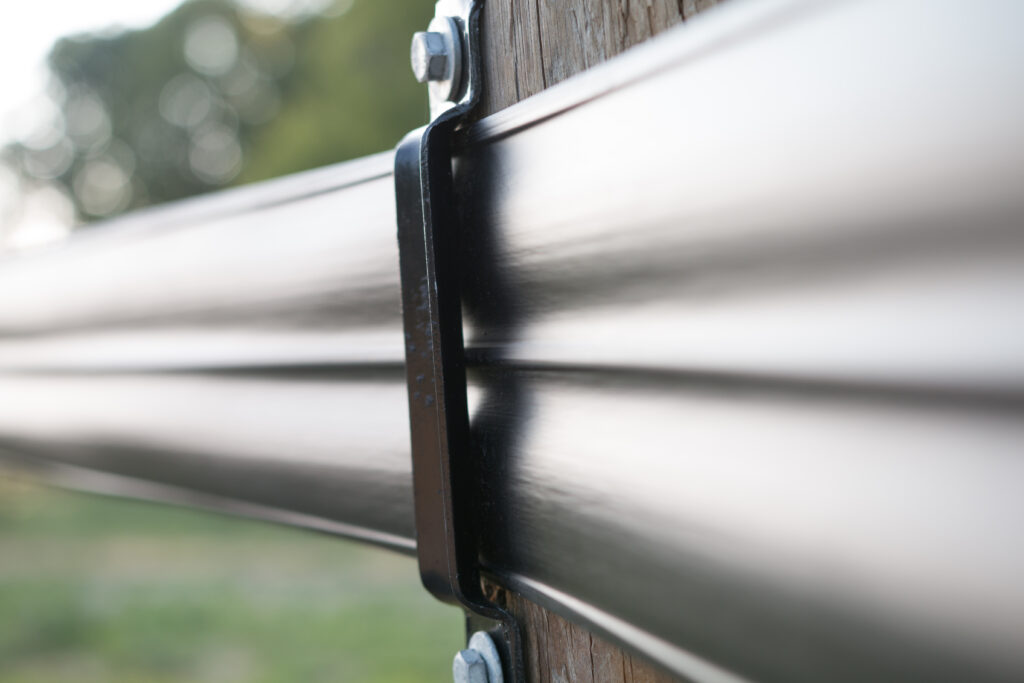
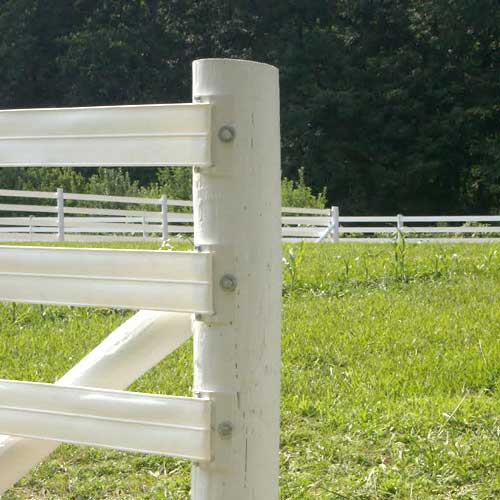
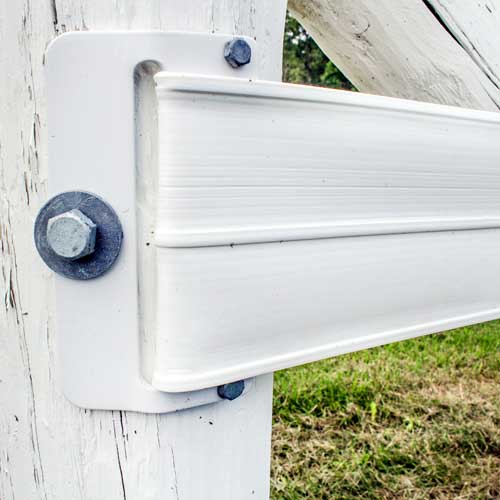
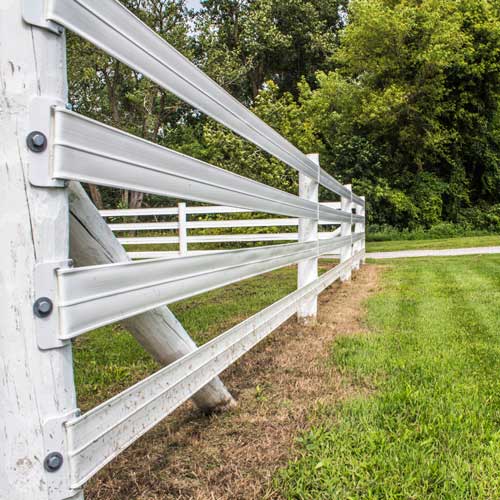
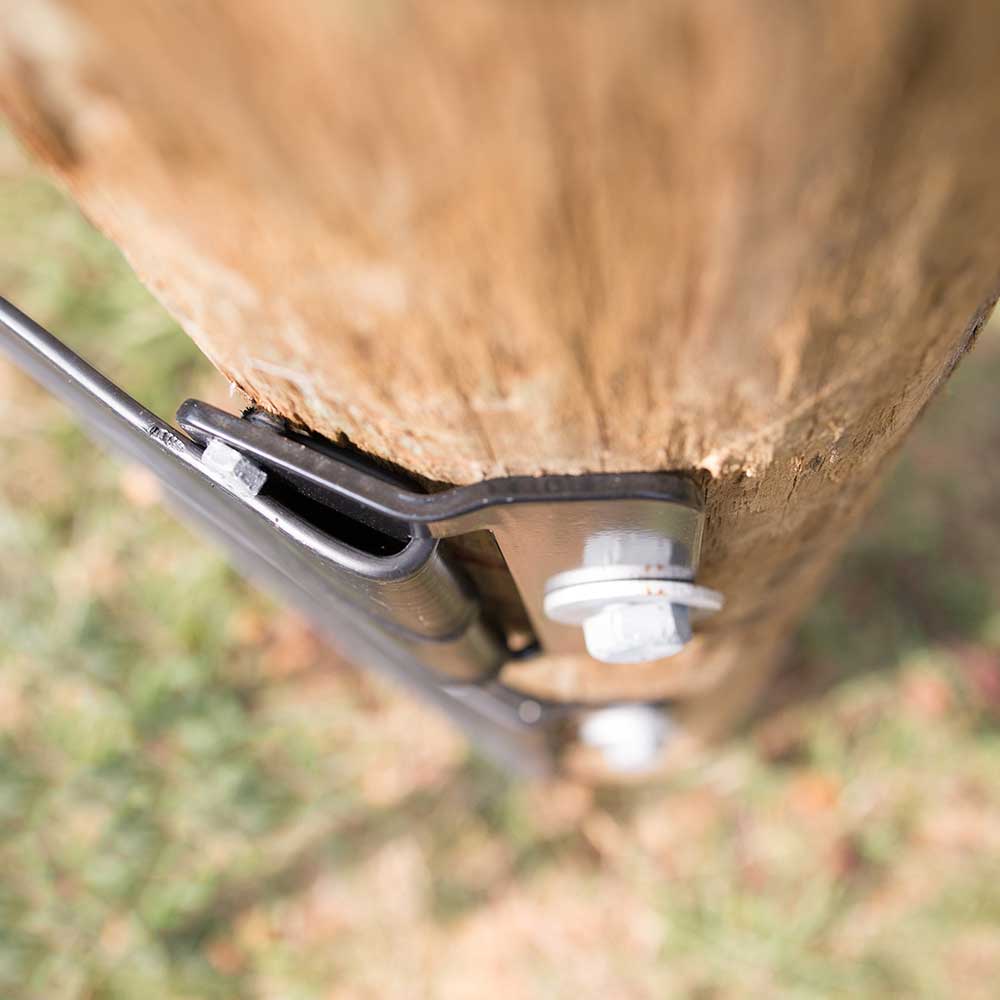
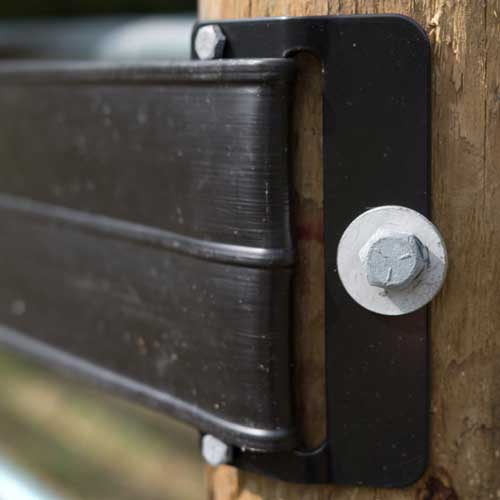
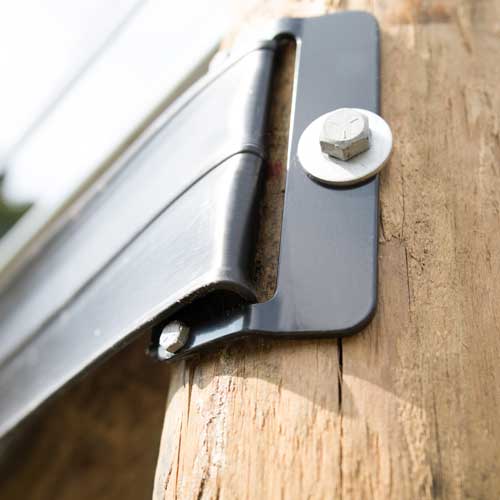
These end plates are used to end Flex Fence rails by capturing the Flex Fence rail between the end plate and wood post. The rounded design of the end plates ensures your horse’s safety.
Price range: $12.99 through $19.75
Flex Fence end plate kits are used to capture the Flex Fence rail between the end plate and wood post. The rounded design of the end plates ensures your horse’s safety.
After your Flex Fence is placed in the line post brackets, install end plates and tighteners. End plates should be installed before end tighteners. The simplified design allows for a one-person installation. You never have to tighten or loosen Flex Fence from winter to summer. Revolutionary horse fence hardware like the end plate kit makes Flex Fence the easiest flexible vinyl fencing system installation in the equine industry market.
Flex Fence End Plate Compatibility:
- 4.25″ End Plates = Per4mance Flex Fence & 425 Flex Fence
- 5.25″ End Plates = 525 Plus Flex Fence
Colors: White, Black, or Brown
Finish: Powder-Coated
Material: Heavy-Duty Galvanized Steel
Sizes: 5.25″ or 4.25″
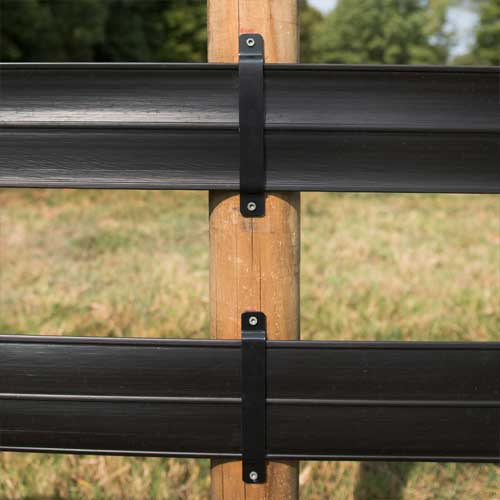
Fence Compatibility:
Includes:
- 1 – End Plate
- 1 – 4-1/2″ Hot-Dipped Galvanized Lag Bolt & Washer
- 2 – 2-1/4″ Hot-Dipped Galvanized Hex Lag Screws
Post Compatibility: Wood
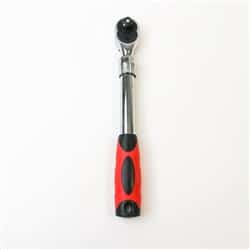
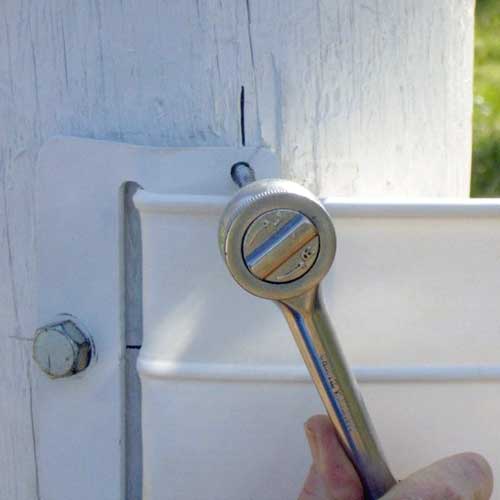
Tool Compatibility: Ratchet Handle
Below are links to our Flex Fence installation instructions in PDF files, which you can save and print for future reference:
Flex Fence Installation Instructions
<!– Flex Fence Arena Sweeping Corners Installation Instructions –>
t=”_blank” rel=”noopener”>Flex Fence Round Pen Installation Instructions
How to End a Flex Fence Rail – End Plate Kit Installation
-
-
-
- Your end post you select. Center of Post
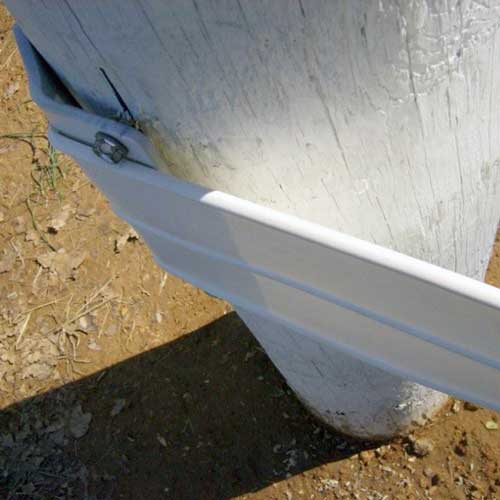
- Locate the horizontal marks on the end post, measure back 2″ from the middle of the post, and drill a 3/8″ diameter pilot hole approximately 4″ deep for the lag bolt.
- Install the lag bolt through the end plate and screw it into your pilot hole. (*Important: all end plates must be left loosened and only snugged up, until the Flex Fence rails – to be explained later – are tensioned.)
- Take the end of the Flex Fence rails and fold it over about 12″ making sure the rail has a curved bend (not folded flat), keeping the sides parallel. Fold it back to at least 1/2″ apart (do not hammer).
- Measure back 3″ and mark a spot on the fence rail. With the aid of a T-square, draw a line on the fence and cut the excess off at this mark. (*You will need high-tensile wire cutters to cut through the wire.)
- Fit the short end into the slot of the end plate. Snug up (<strong&amp;gt;do not tighten</strong>) the lag bolt pinching the short end.</strong></strong>
<li
-
>Pull
- all excess slack
-
out of th
-
- e Flex Fence back
to the ot
- her end post where you will install your end tightener.
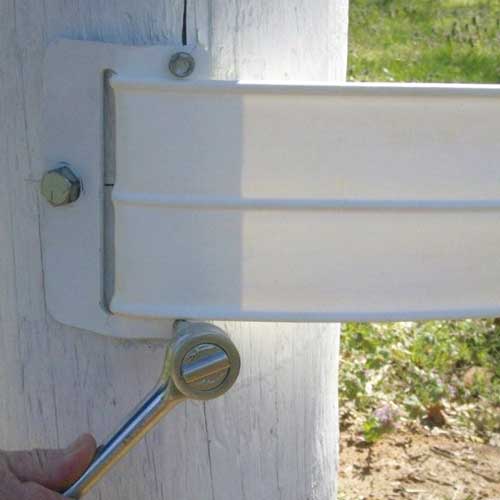
- After any remaining slack is removed and your end tightener is in place, go back to your end plates to ensure it’s lined up with your Flex Fence run. Stand back, look it over, and make sure the flow from end-to-end is to your satisfaction – you can even grab another set of eyes for a second opinion.
- After you have determined the end plate is in line with your fence run, install the two remaining smaller screws (a pilot hole should not be necessary). These screws are designed to trap the bent short section of the Flex Fence between the end plate and the post. (*If the screws become stripped, you can use two 3.5″ ring shank nails.)
- Tighten the included two screws and lag bolt. (*For the lag bolt, using a ratchet handle will add torque.)
- Your end plate kit installation is complete!