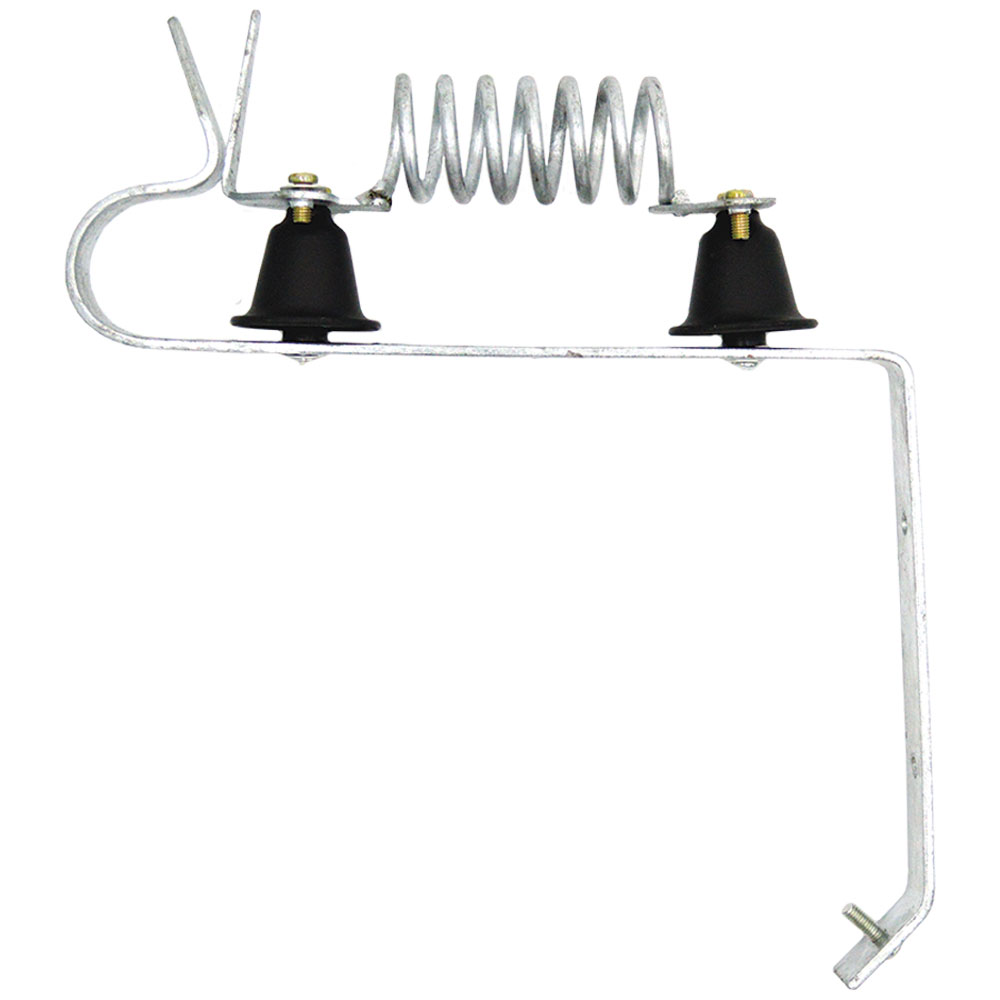
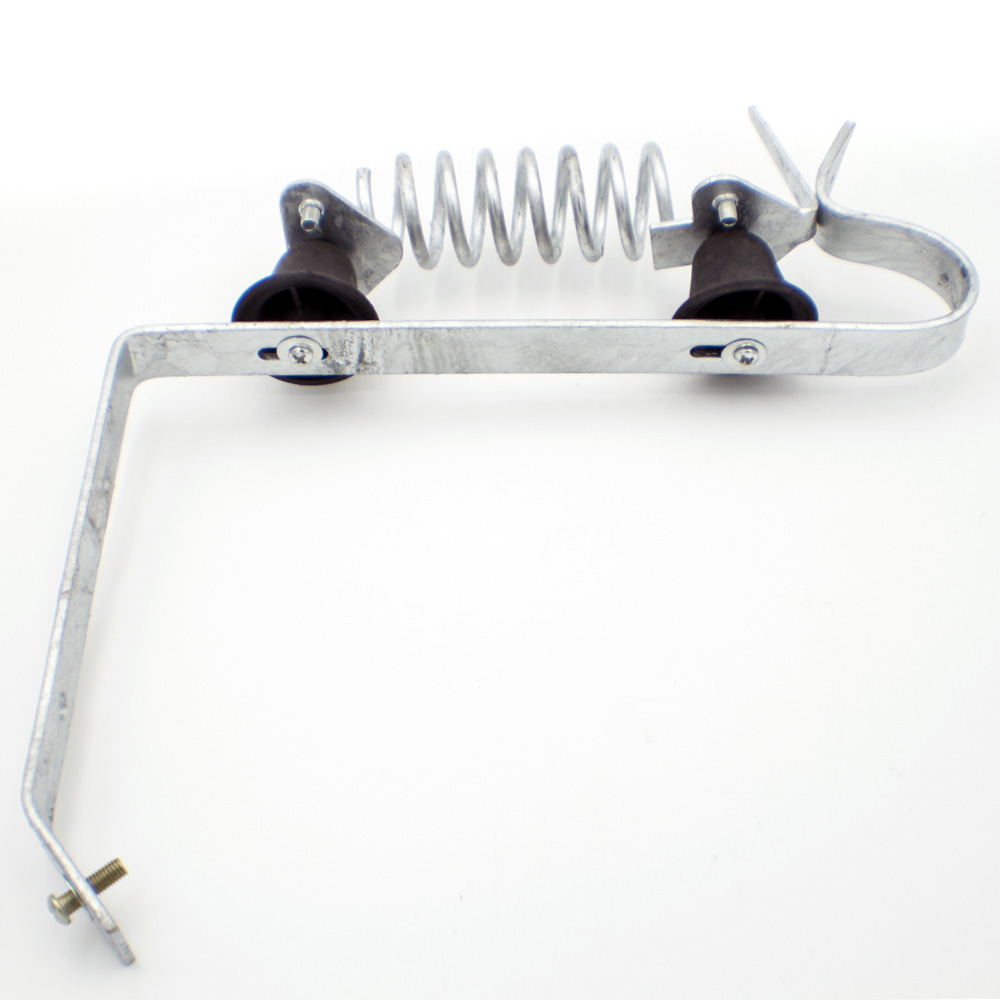
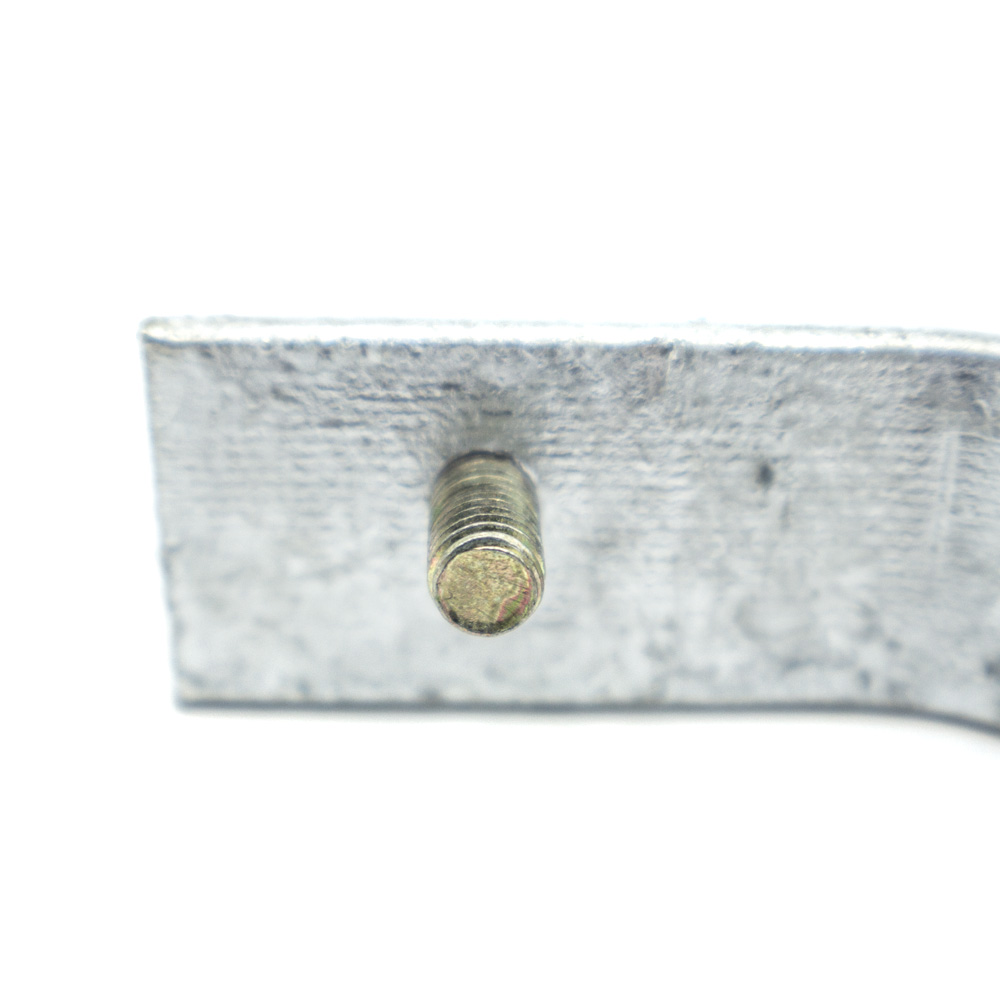
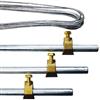
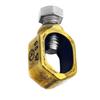
When a lightning surge travels along the electrified rail to a lightning arrester, the current is diverted through the arrester into the ground, saving your electric fence charger. They can be mounted to an electric fence system with a stainless steel split bolt or mounted to any post. They're installed between the fence rail and the electric fence charger; acting as a surge protector (just like what's used for your computers and electronic devices). For added protection, we recommend installing them at each corner.
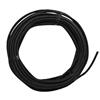
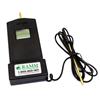
Installation: The easiest and best way to install a lightning arrester is by installing a cut-off switch on the high-voltage burial wire close to the site where you will be installing the arrester; this will make any adjustment to the arrester much easier. The arrester should be mounted between the electric fence charger and any fence connections.
- Turn off and/or unplug the electric fence charger.
- Mount outside and away from the building, at a location where (should it react to a lightning strike) the heat generated will be safely dissipated. However, the arrester should be installed as close as practical to the electric fence charger.
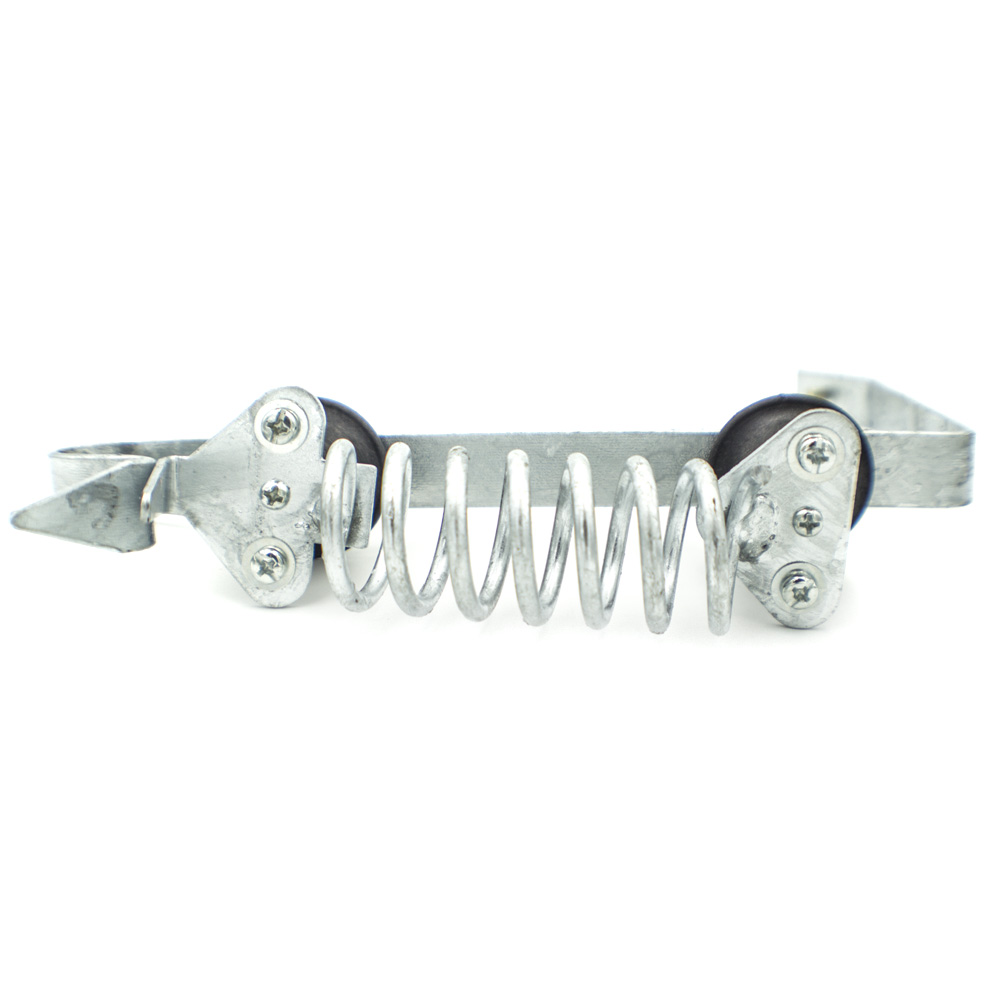
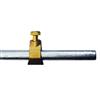
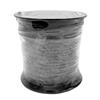
- Attach the high-voltage burial wire from the electric fence charger to the end of the metal coil, opposite the spark gap.
- When installing the arrester ground bed and electric fence charger ground bed, they should be separated by at least 50'. An additional ground rod is required in the electric fence charger ground bed. Ground rods need to be spaced at a minimum of 10' apart.
- Connect the high-voltage burial wire from the ground rod bed up to the mounting piece of the arrester.
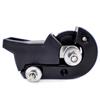
- To be most effective, the gap on the two upright, pointed metal pieces of the arrester should be 1/8" greater than the distance that the electric fence charger's spark will jump.
- After adjusting the gap, disconnect power to the electric fence charger and attach the high-voltage burial wire (going out to the rest of the fence) on the spark gap's end of the choke coil.
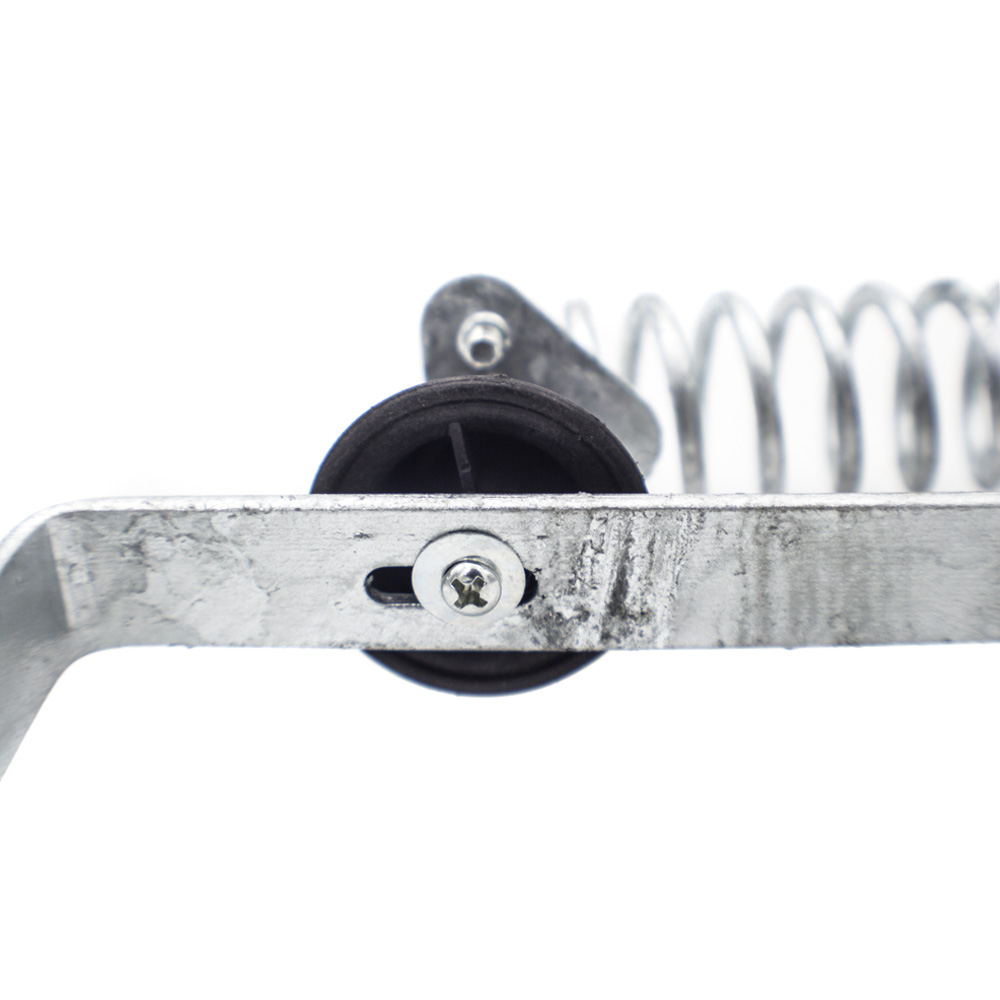
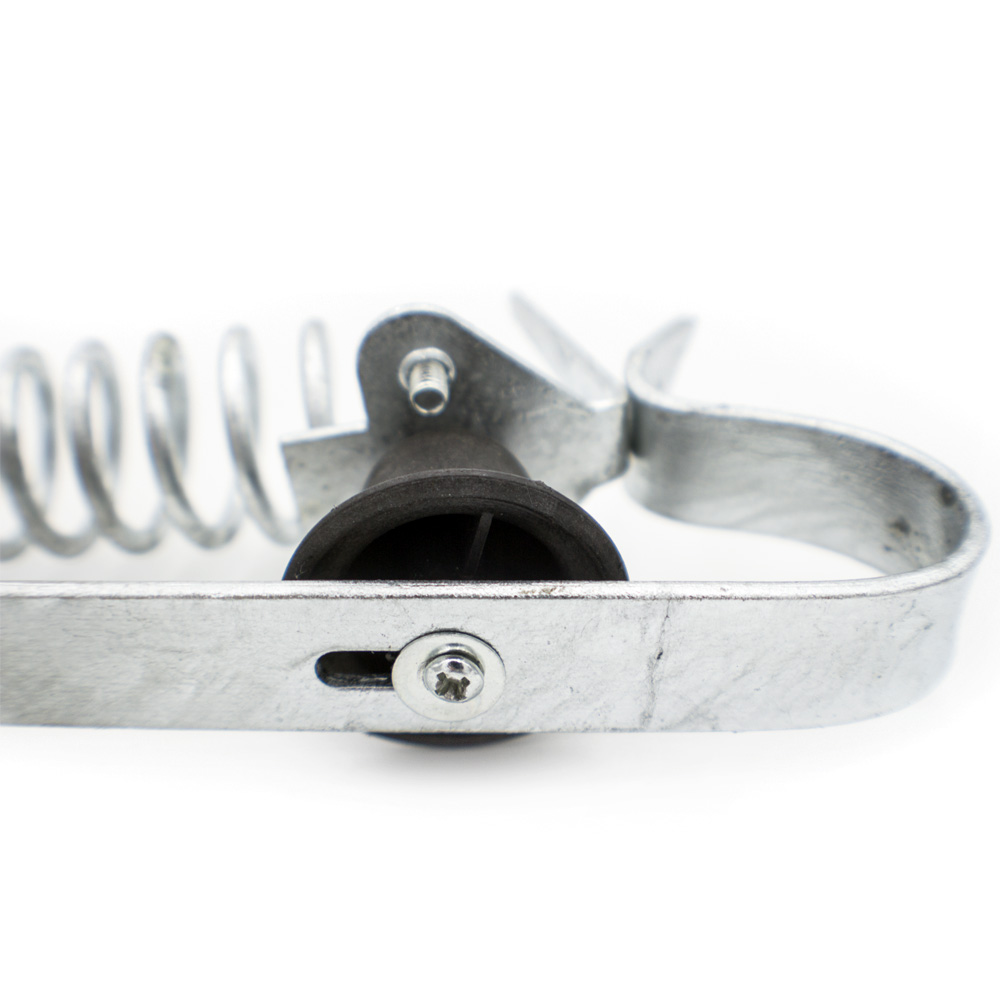
Positioning the Gap:
- With the power off, make the gap 1/8" by loosening the screws that hold the coil in place.
- Turn the power back on and check to see if a spark from the electric fence charger bridges the gap.
- If it does, turn the power back off (if cut-out switch is installed, throw switch) and increase the gap by 1/8".
- Continue the above steps until the spark no longer bridges the gap, then increase an additional 1/8".
- Re-tighten screws.